Showing posts with label Want2scrap Wonderful Wings. Show all posts

Tuesday, July 22, 2014

Maleta Estilo Shabby Chic

Una de las cosas que mas me fascina es crear cosas hechas a mano y disfrutar con las chicas del grupo.  El sábado el grupo de Creando Con Detalles tuvimos un encuentro en un de los lugares que mas me encanta compartir; mi taller y mi espacio de creación por medio de Ustream.

Hacia tiempo que no me podía sentar a compartir con las chicas algunas de mis creaciones, porque he estado muy ocupada con la tienda.  Nos reunimos el sábado, 19 de Julio para crear una maleta con un estilo que mas me fascina...Shabby Chic!

Desde los colores hasta los adornos y las risas todo fue un encanto.

Mi maleta es algo un poco distinto ya que no es una maleta para viajar sino una que guarda los cuentos de nuestros viajes.  Esta maleta tiene rumbo para un espacio muy lindo en Costa Rica para una amiga que adoro.


Y que es lo que hace esta maleta distinta a las demas maletas pues primeramente la hice con mucho amor para nuestras chicas del grupo.  Segundo la hice de carton!!! Si asi mismo la hice de carton.

Los adornos son de la tienda de Creating With Details y los papeles son de la linea de papel que llevamos en la tienda  Pion Design Paper - My Princess.  Hasta Hermosa coleccion de papeles vienen de Suiza y son de los mas divinos.


Use el Seam Binding Color Rosado de la tienda para hacer un tag estilo shabby chic totalmente le dio un hermoso LOOK a esta maleta.


Materiales para hacer esta belleza de maleta:

Carton

Espero que le hayan encantado esta bella maleta que hice con mucho amor para las chicas de Creando con Detalles. 

Gracias, 
Mai


Tuesday, April 30, 2013

April Showers Brings Flutterbug Plaque


April
April is a very special month for me.  It was the month in which I first became a mother.  I have two beautiful daughters both born in April and they are certainly April Showers, full of lots of love and joy.  They are each distinctly different, but loving in many ways.  
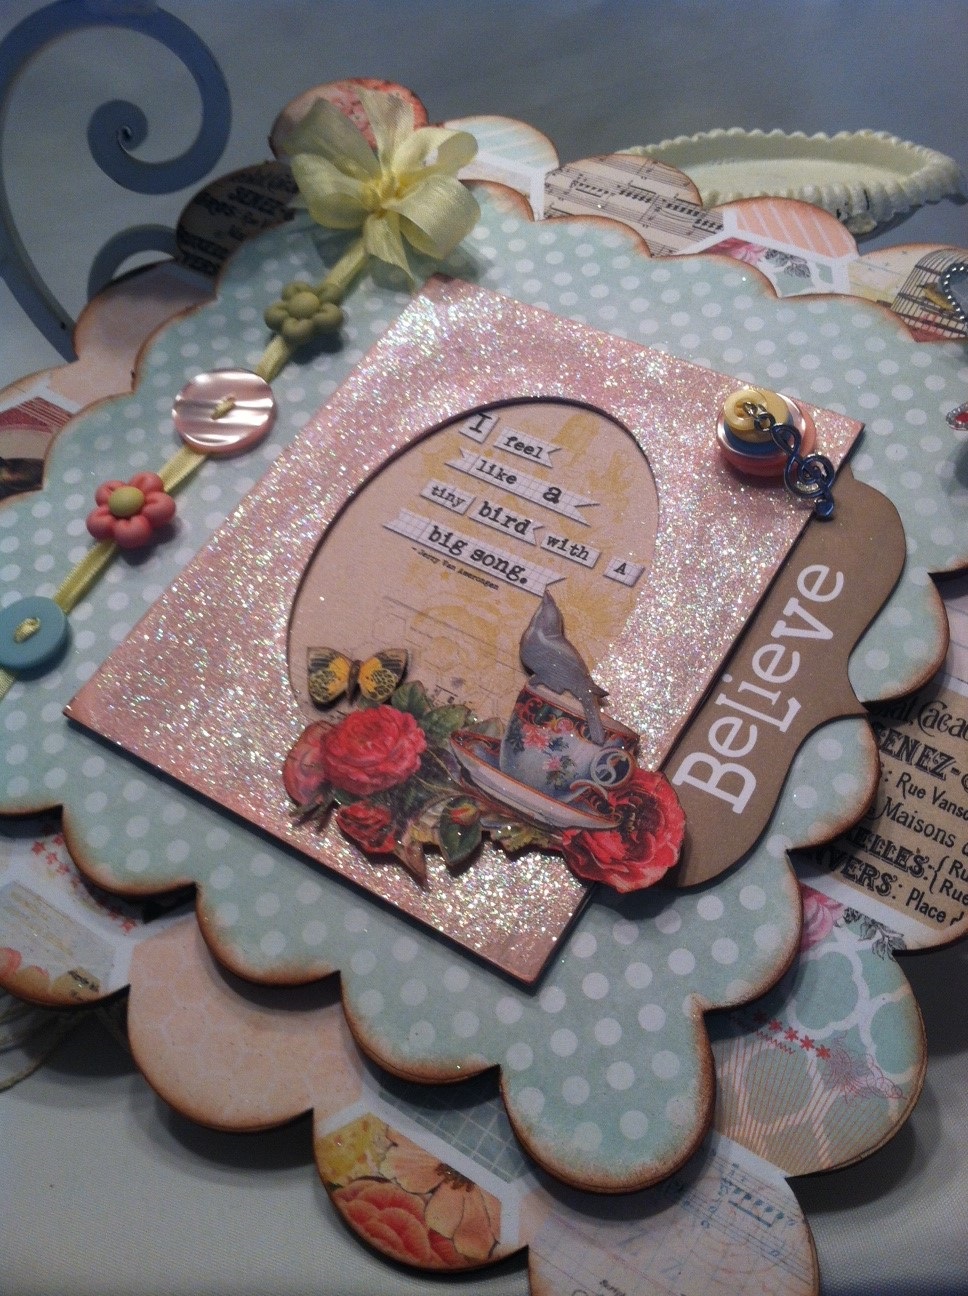
I created this Flutterbug Plaque for my Karla "K" who turned 17 this April and I wanted her to know that she can always do whatever she sets her heart to do as long as she "BELIEVES"!!!!!
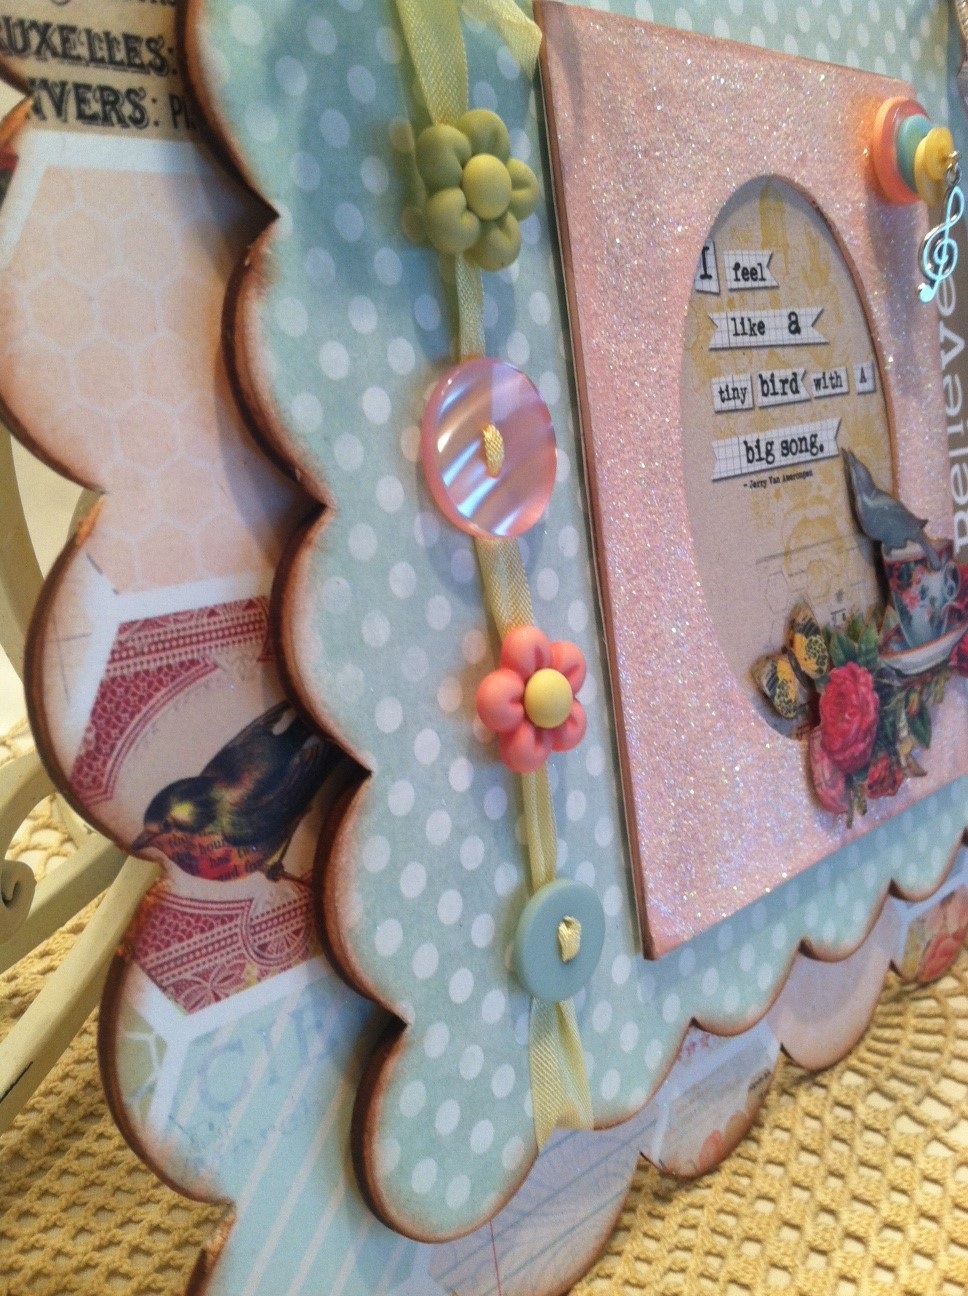
So, as you can see there are so many April Shower surprises for me.  I made my plaque using various supplies and the wood plaques are from ADORNit!
My Springtime Flutterbug Medley Wall plaque is cute for any young lady and very easy to make!
april2
April4

Material used:

Buttons Galore & More Products used:

Directions:

Once  you have gathered all your supplies, you can begin to transform the scalloped frames into something totally cute and ready for Spring.
April instructional material
STEP ONE:
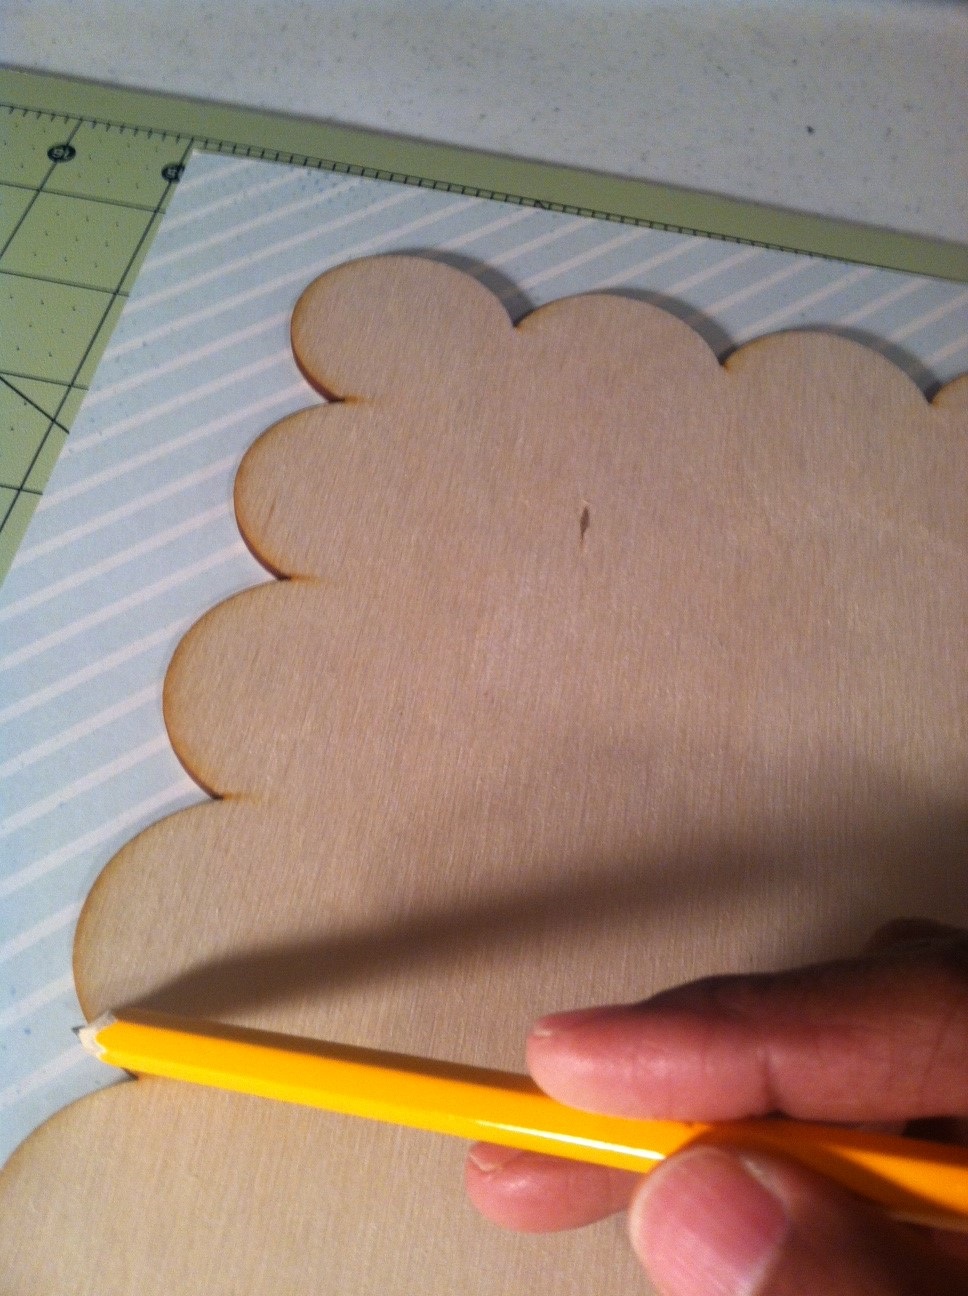
Start by tracing the large scalloped wood frame into you paper of choice.    Be sure to trace on  the back side of the paper.
instructional material3
Once you have both frames the large and the small scalloped frames traced like you see above you can begin to cut.
STEP TWO:
Cut the frames that you just traced and you can use an Xacto knife for the harder to cut places or your Friskar Scissors.
Instructional Material 4
STEP THREE:
Apply Beacon 3 – in -1 adhesive or Zip Dry they both work just as good to your decorative paper and adhere to the scalloped frames.  A good tip is to use a sanding block to sand off the edges of the paper that may hang from the edges.  This also gives it a more distressed look!  Once you have distressed with the sand block use a Distressing Ink like Tim Holt’s to distress the edges of the frames/paper.
STEP FOUR:
Distress the Edges once they are all adhered to the wood frame.
STEP FIVE:
My favorite part is decorating.  These are 3D frames from Want2Scrap and I painted and applied glitter and glue.  I also used Buttons Galore and More Flutterbug Medley Buttons to accent the plaque and threaded a piece of seam binding to the buttons.
Instructional material 5
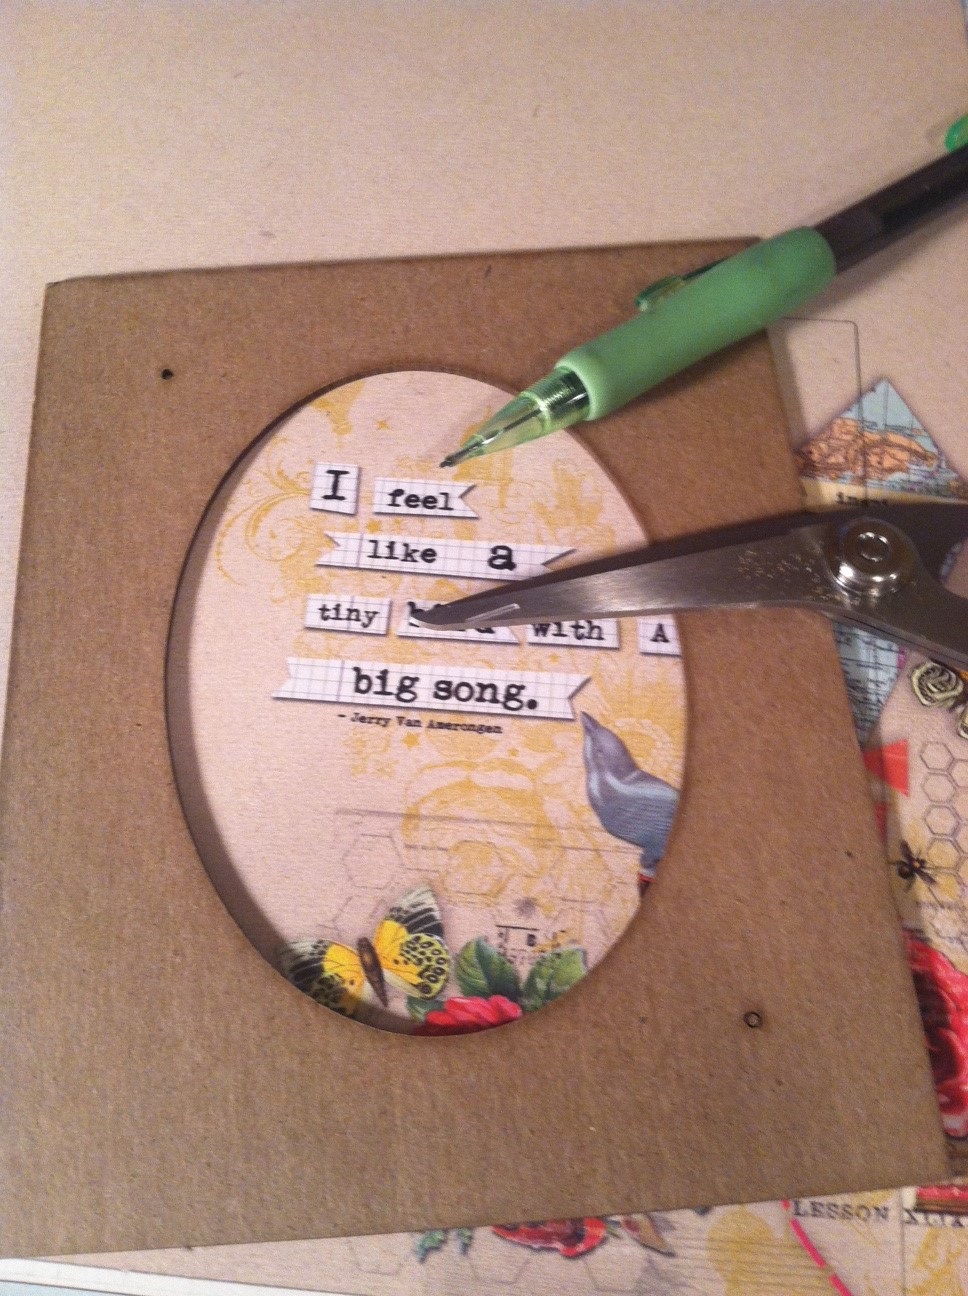
I used my Fiskar scissors to cut out another piece similar to the one above to give it the dimensional look.
Finally, to top finish this project I added a few of my favorite things, which are buttons, bling, and seam binding.  I gathered a few buttons that I had laying around added that along with Want2Scrap Musical Chef charm.